Docx Templating in JavaScript
In this guide we’ll look at how to create a docx template and fill out that document using JavaScript. We’ll do this by using the docxtemplater package. This works in both NodeJS and React.
- Installing Requirements
- Main Code
- Filling out the Template with JavaScript
- Direct Values
- Styling
- Lists
- Table Rows
- Conditional Rendering
- Helpful Tips
Installing Requirements
Install the docxtemplater & pizzip packages using the following command:
1
npm i docxtemplater pizzip
Main Code
The main code for all the below examples will stay the same. The only thing that will be changing is the dataToAdd Object (line 14). All other lines will stay the same.
1
2
3
4
5
6
7
8
9
10
11
12
13
14
15
16
17
18
19
20
21
22
23
24
25
26
27
28
29
30
31
32
33
34
35
36
const fs = require('fs');
const path = require('path');
const PizZip = require('pizzip');
const Docxtemplater = require('docxtemplater');

// Load the templated docx file
const templateFile = fs.readFileSync(path.resolve(__dirname, 'template.docx'), 'binary');
const zip = new PizZip(templateFile);

try {
	// Attempt to read all the templated tags
	let outputDocument = new Docxtemplater(zip);

	const dataToAdd = {};

	// Set the data we wish to add to the document
	outputDocument.setData(dataToAdd);

	try {
		// Attempt to render the document (Add data to the template)
		outputDocument.render()

		// Create a buffer to store the output data
		let outputDocumentBuffer = outputDocument.getZip().generate({ type: 'nodebuffer' });

		// Save the buffer to a file
		fs.writeFileSync(path.resolve(__dirname, 'OUTPUT.docx'), outputDocumentBuffer);
	}
	catch (error) {
		console.error(`ERROR Filling out Template:`);
		console.error(error)
	}
} catch(error) {
	console.error(`ERROR Loading Template:`);
	console.error(error);
}
Filling out the Template with JavaScript
All of the data that will be added to the template will be contained within a single Object called dataToAdd.
Each key in the dataToAdd Object refers to a tag that was placed in the docx file. Let’s see how to do this.
Direct Values
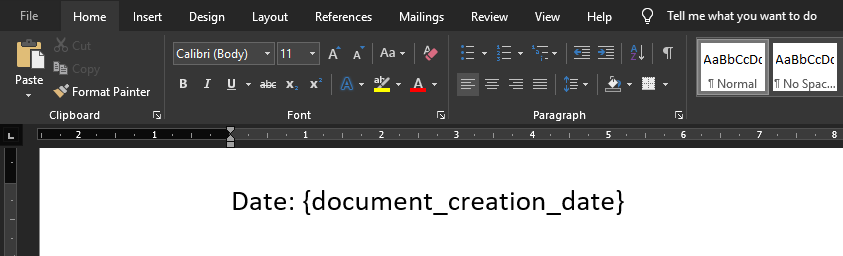
Direct values simply mean static values that we wish to insert into the document. Some examples would be the date, author, title. Simple text values you wish to add that may change with each document.
Docx File
The Code
1
2
3
const dataToAdd = {
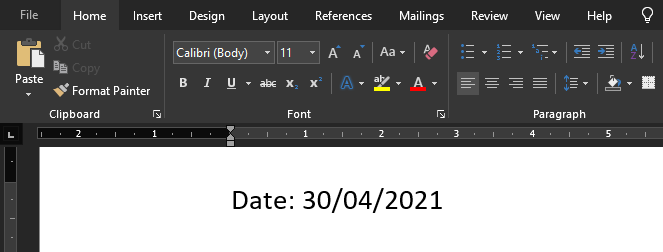
document_creation_date: (new Date()).toLocaleDateString()
};
Results
Styling
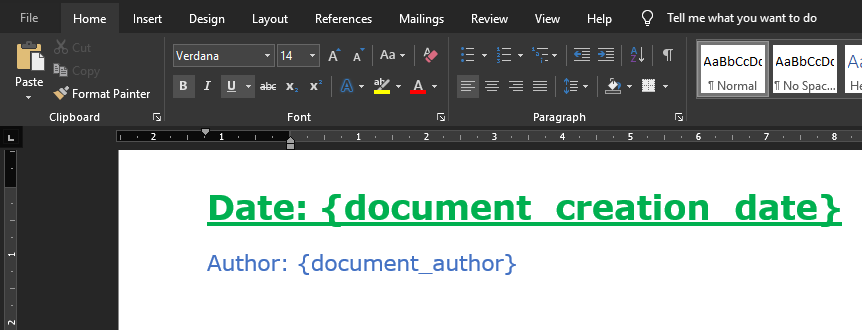
The style that is applied to the tag in the document will be inherited by the value that is inserted:
Docx File
The Code
1
2
3
4
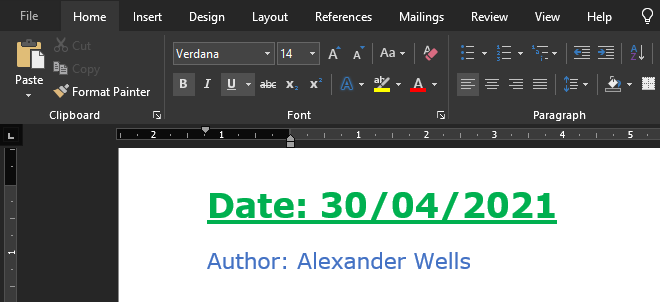
const dataToAdd = {
document_creation_date: (new Date()).toLocaleDateString(),
document_author: 'Alexander Wells',
};
Results
Lists
A very useful feature is to be able to template repetitive sections. Perhaps the document is suppose to contain the profiles of some employees. Let’s see how we can use lists to do this:
Docx File
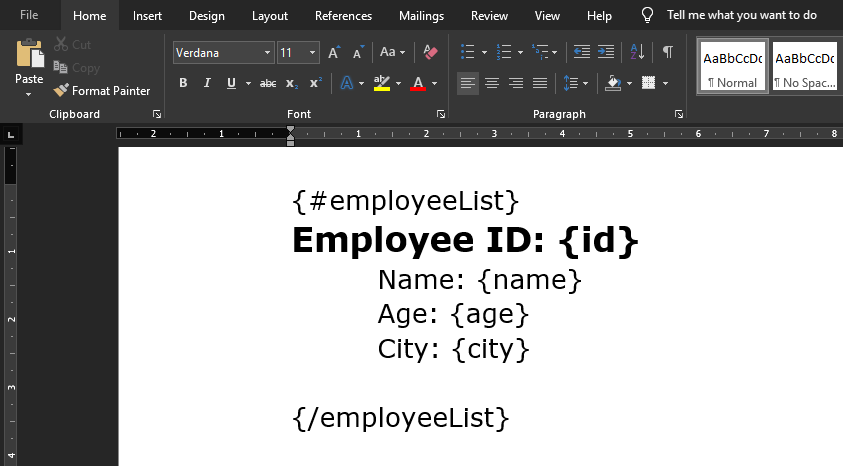
- Lists are prefixed with the
#character to start the list scope, and the/character to end the list scope.
The Code
1
2
3
4
5
6
const dataToAdd = {
    employeeList: [
        { id: 28521, name: 'Frank', age: 34, city: 'Melbourne' },
        { id: 84973, name: 'Chloe', age: 28, city: 'Perth' },
    ]
};
- When using lists, the value should be a list of Objects.
- The keys of each Object will refer to the tags used inside the List in the docx file (id, name, age, city).
Results
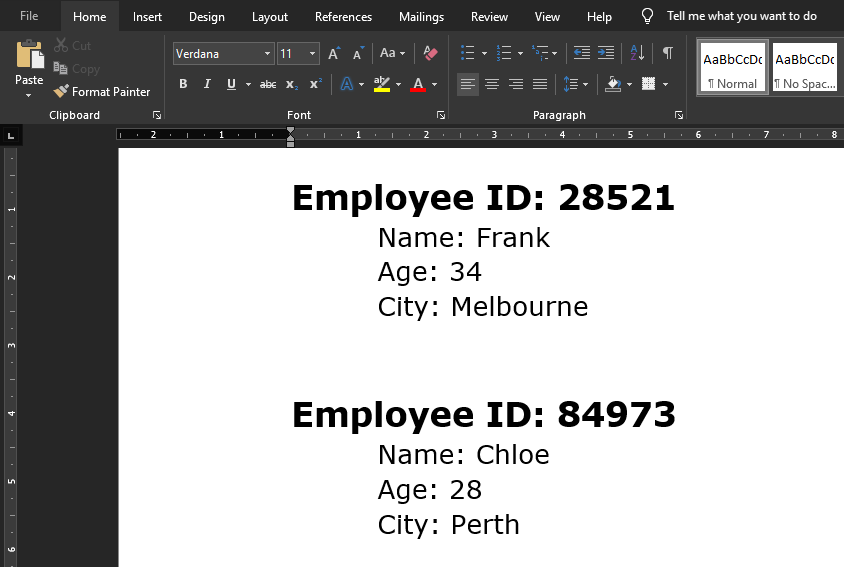
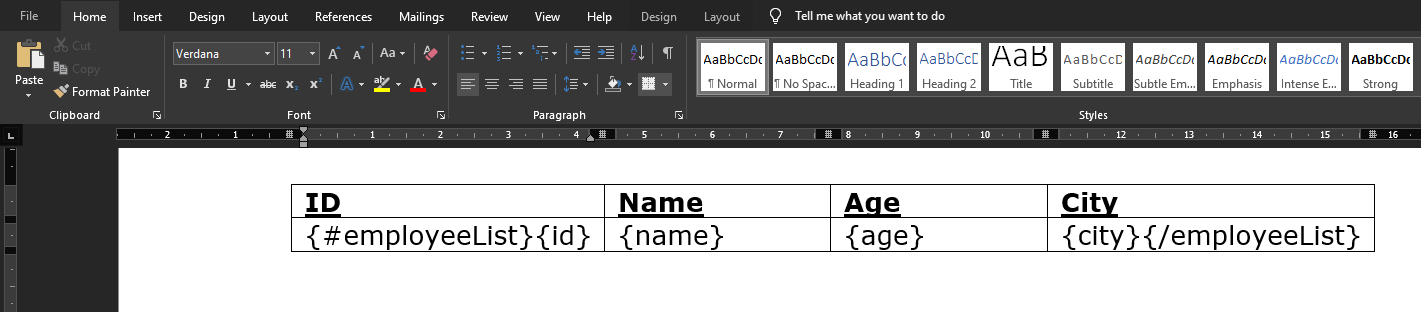
Table Rows
We can also use lists to create additional rows of a table. Let’s use the employee example again, but this time let’s use a table to represent the data:
Docx File
The Code
1
2
3
4
5
6
7
8
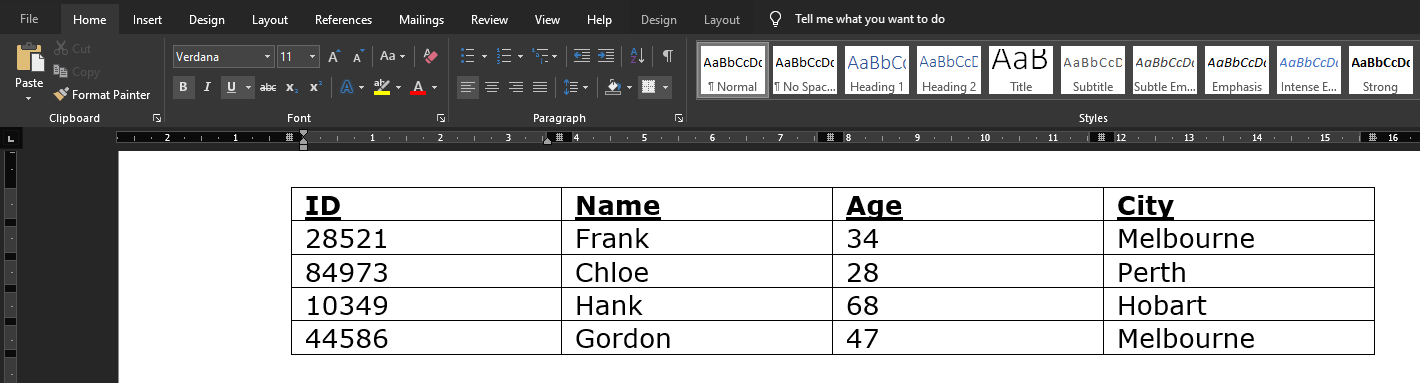
const dataToAdd = {
employeeList: [
{ id: 28521, name: 'Frank', age: 34, city: 'Melbourne' },
{ id: 84973, name: 'Chloe', age: 28, city: 'Perth' },
{ id: 10349, name: 'Hank', age: 68, city: 'Hobart' },
{ id: 44586, name: 'Gordon', age: 47, city: 'Melbourne' },
]
};
Results
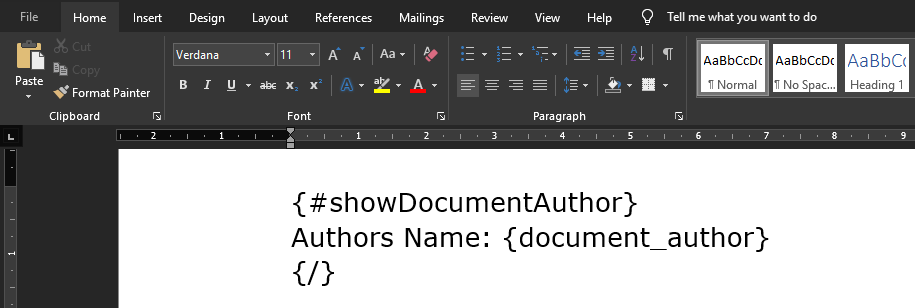
Conditional Rendering
Docx File
Another useful feature would be if we could only render certain things if a condition is met. Let’s see how we can do that:
The Code
1
2
3
4
const dataToAdd = {
    showDocumentAuthor: true,
    document_author: 'Alexander Wells',
};
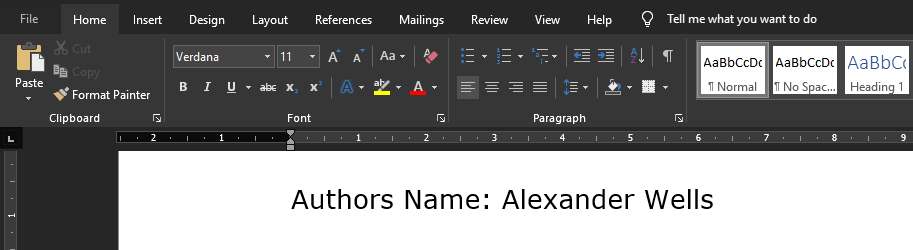
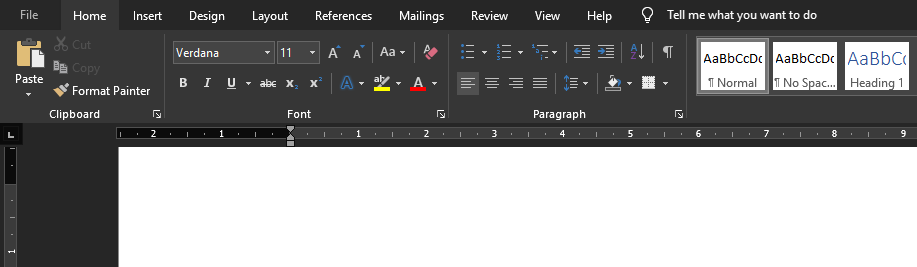
Results
Changing showDocumentAuthor to false means the data inside the conditional statement won’t be rendered.
Helpful Tips
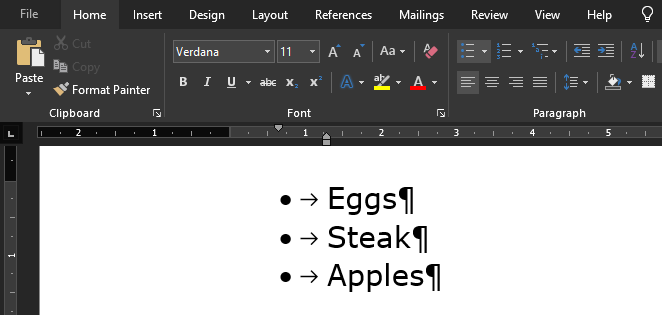
Too Much Spacing
You may notice if you use loops that extra spacing gets added where you don’t want. Let’s look at an example where this is very clear:

1
2
3
4
5
6
7
const dataToAdd = {
    groceryList: [
        { item: 'Eggs' },
        { item: 'Steak' },
        { item: 'Apples' }
    ],
};
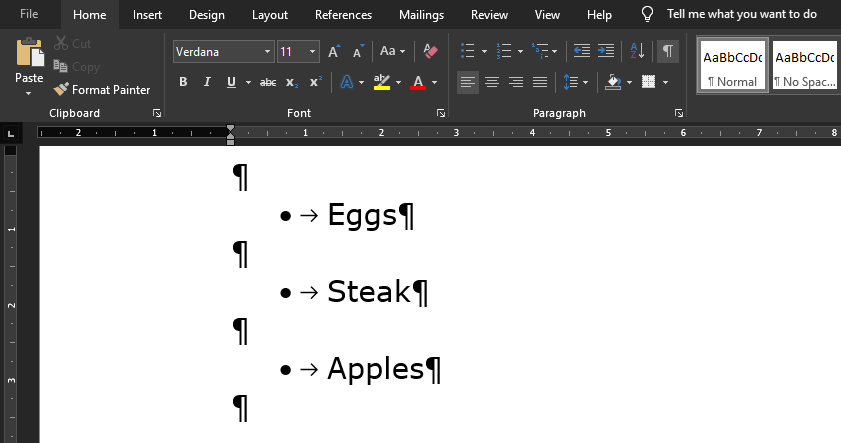
- With visible formatting enabled we can see the issue.
- An extra line has been inserted between each list element.
We can fix this by enabling by enabling paragraphLoop option when creating our output document:
1
let outputDocument = new Docxtemplater(zip, { paragraphLoop: true });
Error Finding 1
- One downside of this library is that error locations is actually a paid feature (yes I’m serious), look here.
- This is an inconvenience and nothing more.
- I STRONGLY suggest that you do templating in small batches. Add a few tags, test, add a few more, then test again.
- Please do not spend hours (or even an hour) templating before testing. It will save you a massive headache when the program just says
error, and you have to hunt through your document to find the issue.
Error Finding 2
- Ensure that your tags in the docx file do not contain spaces at the start or end.
- If you have a list tag called
{#employeeList}, ensure there is no whitespace like this{#employeeList }, as this can cause the program to fail. - Microsoft Word can automatically add spaces so be aware of that.
Tag Names
- USE GOOD TAG NAMES!
- Just like when programming you try and use good variable names, same goes here.
- A large document may have dozens or hundreds of tags. Using
datefor a tag name is BAD! - Using
document_creation_dateis much better as it’s clear exactly what date it’s referring to.